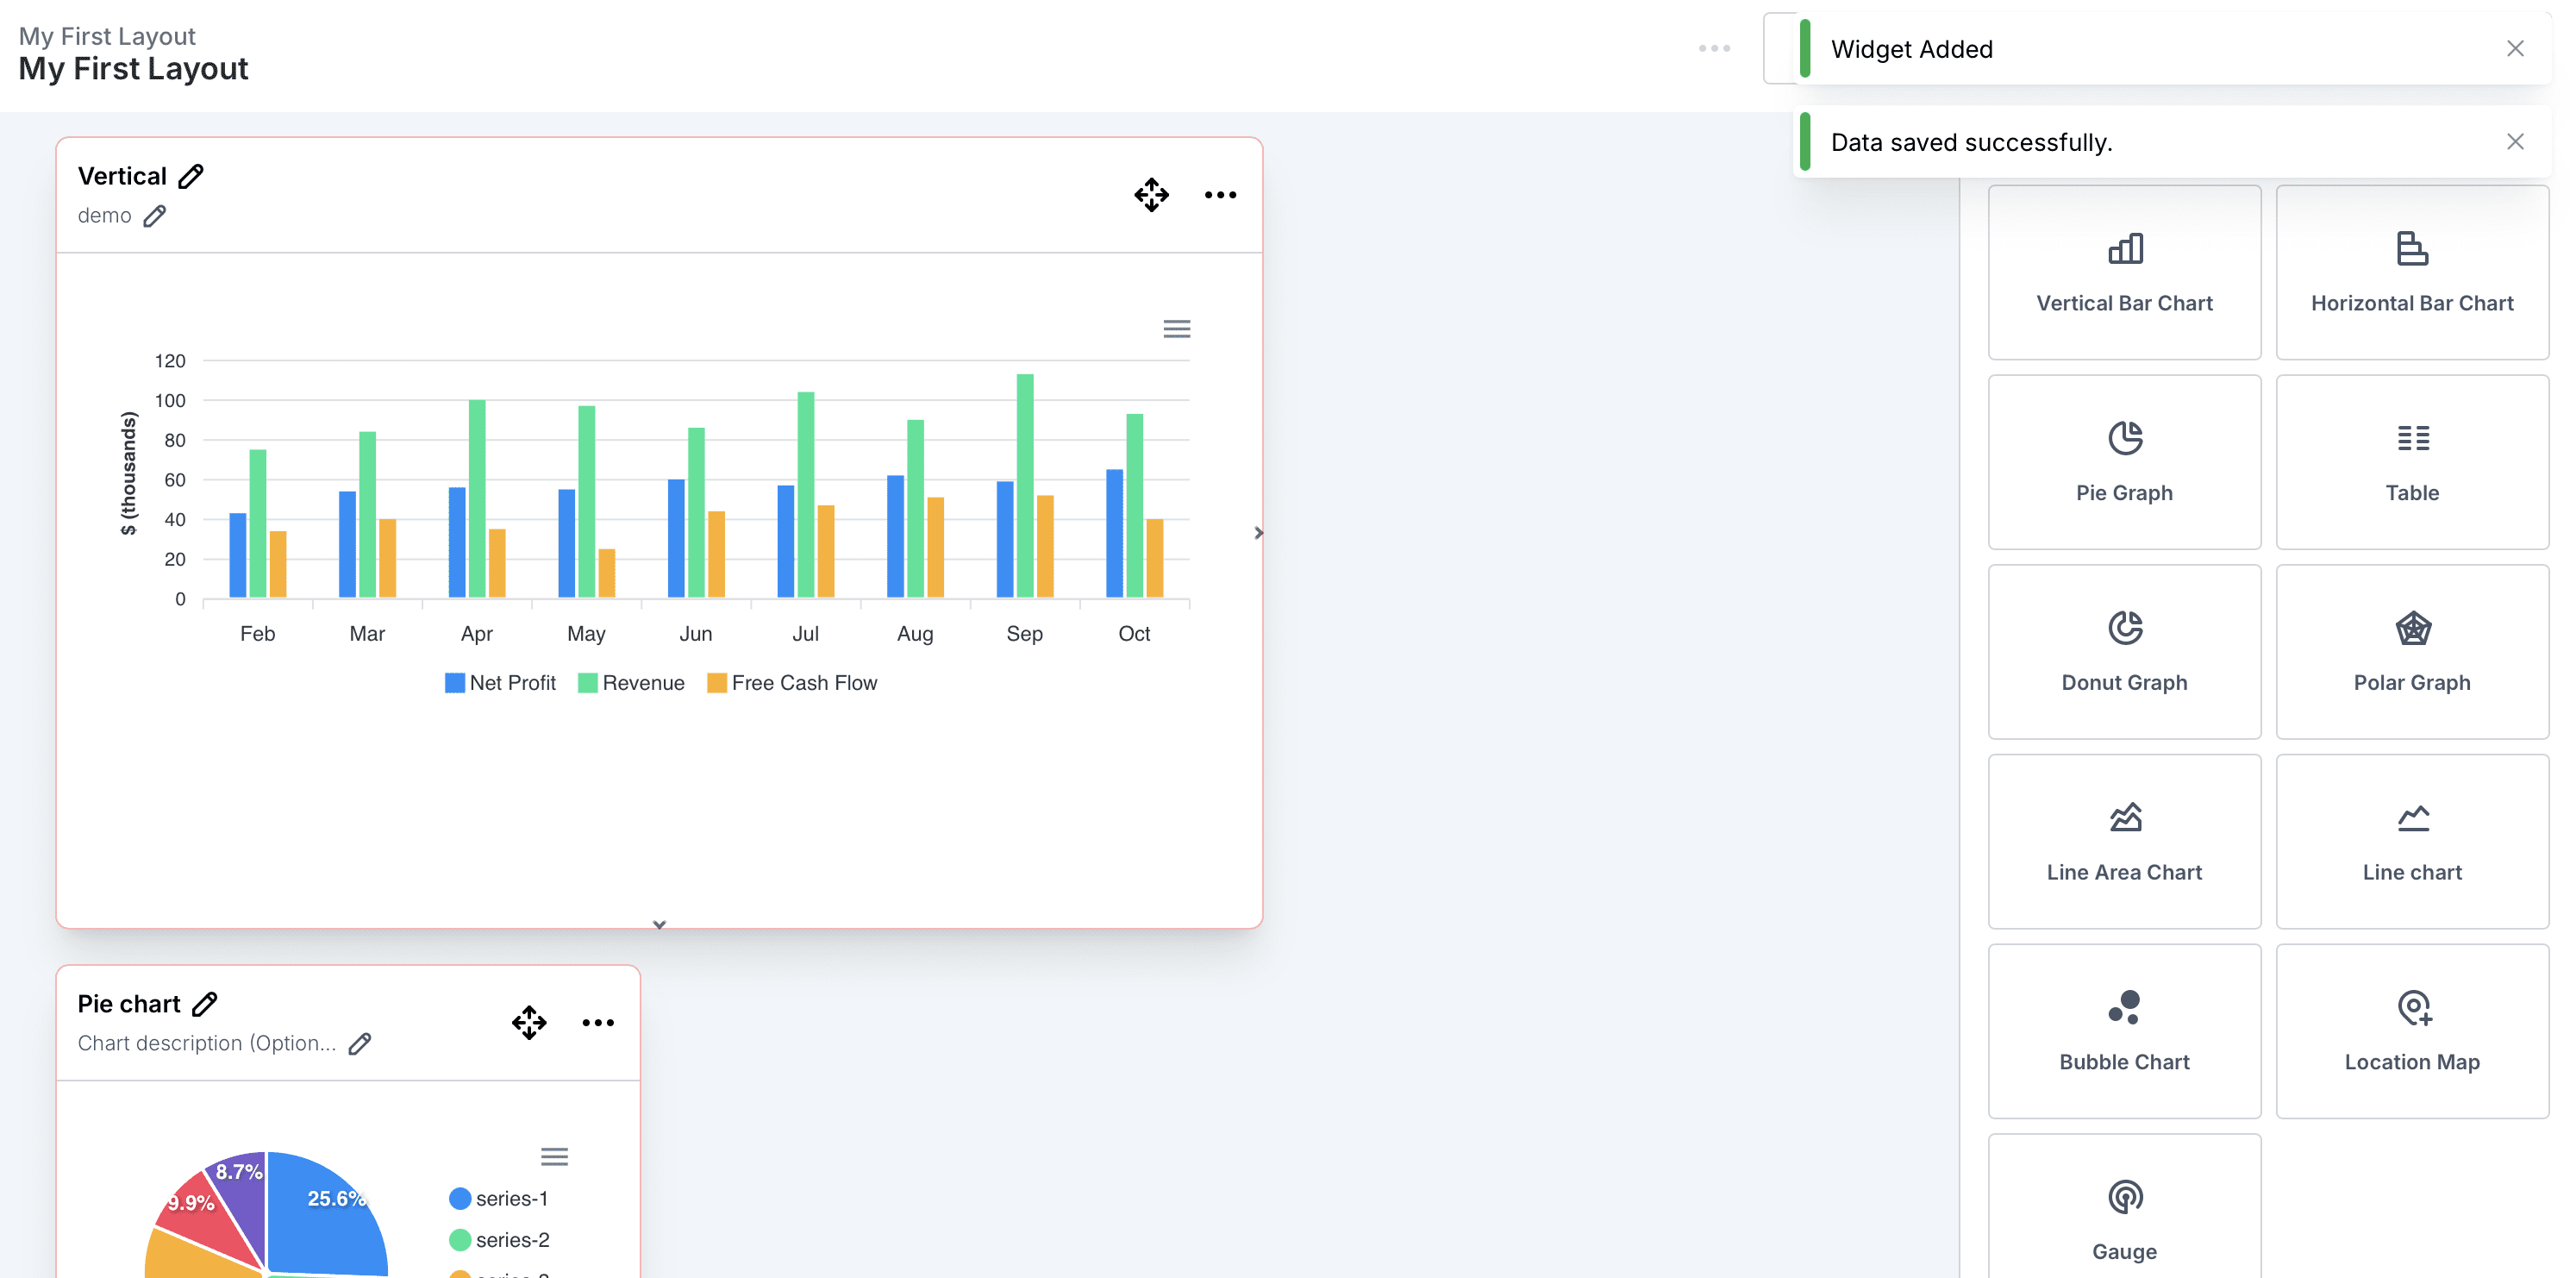
Overview
The data upload process on the dashboard allows you to upload your dataset, map fields to appropriate data types, configure filters, and generate insights. Follow this step-by-step guide for a seamless upload experience.
1. Starting the Data Upload Process
Steps:
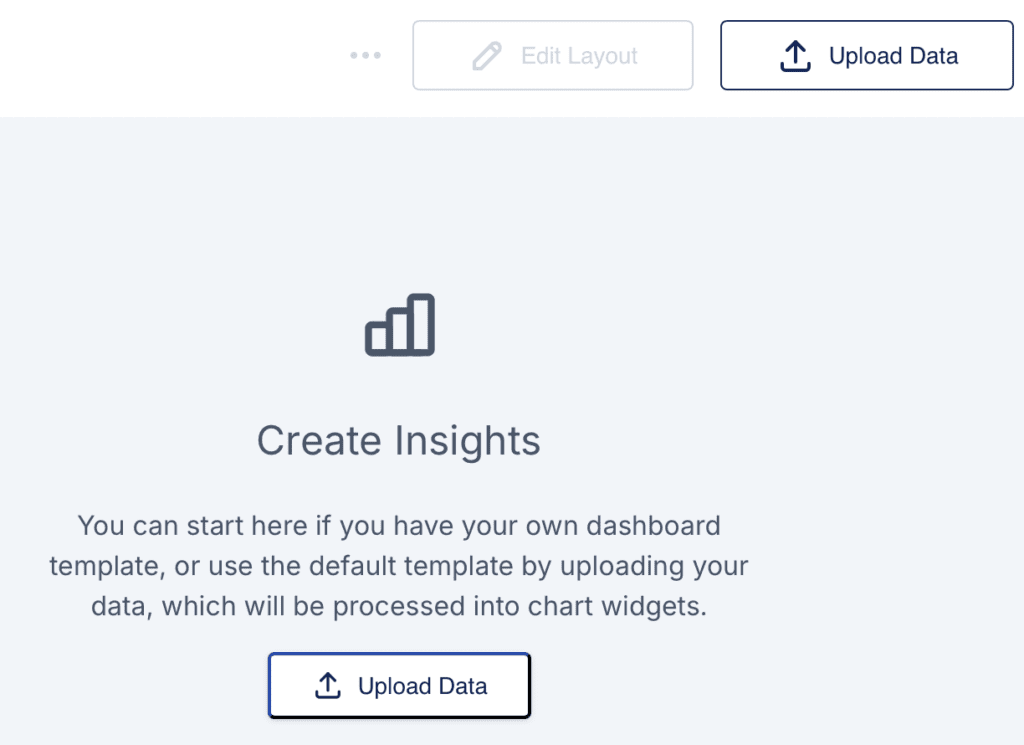
- Navigate to the Dashboard Layout or Create Insights section.
- Click the Upload Data button to start uploading your dataset.
2. Uploading a Dataset
Steps:
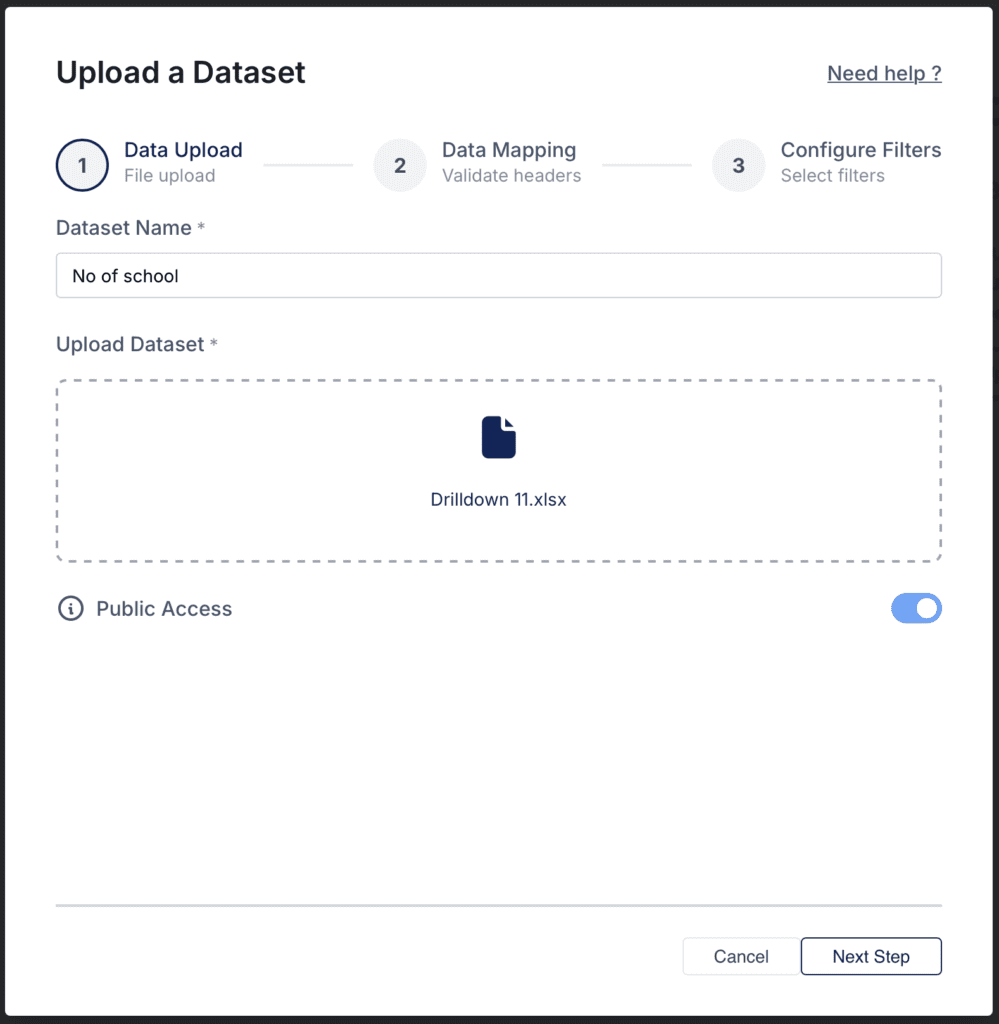
- Fill in the Dataset Name field with a descriptive title for your data.
- Example: “No of Schools”.
- Drag and drop your dataset file or click the upload area to select a file from your device.
- Supported formats include
.xlsx,.csv, and others.
- Supported formats include
- Toggle the Public Access option if you want the dataset to be publicly accessible.
- Click Next Step to proceed.
3. Mapping Data Fields
Steps:
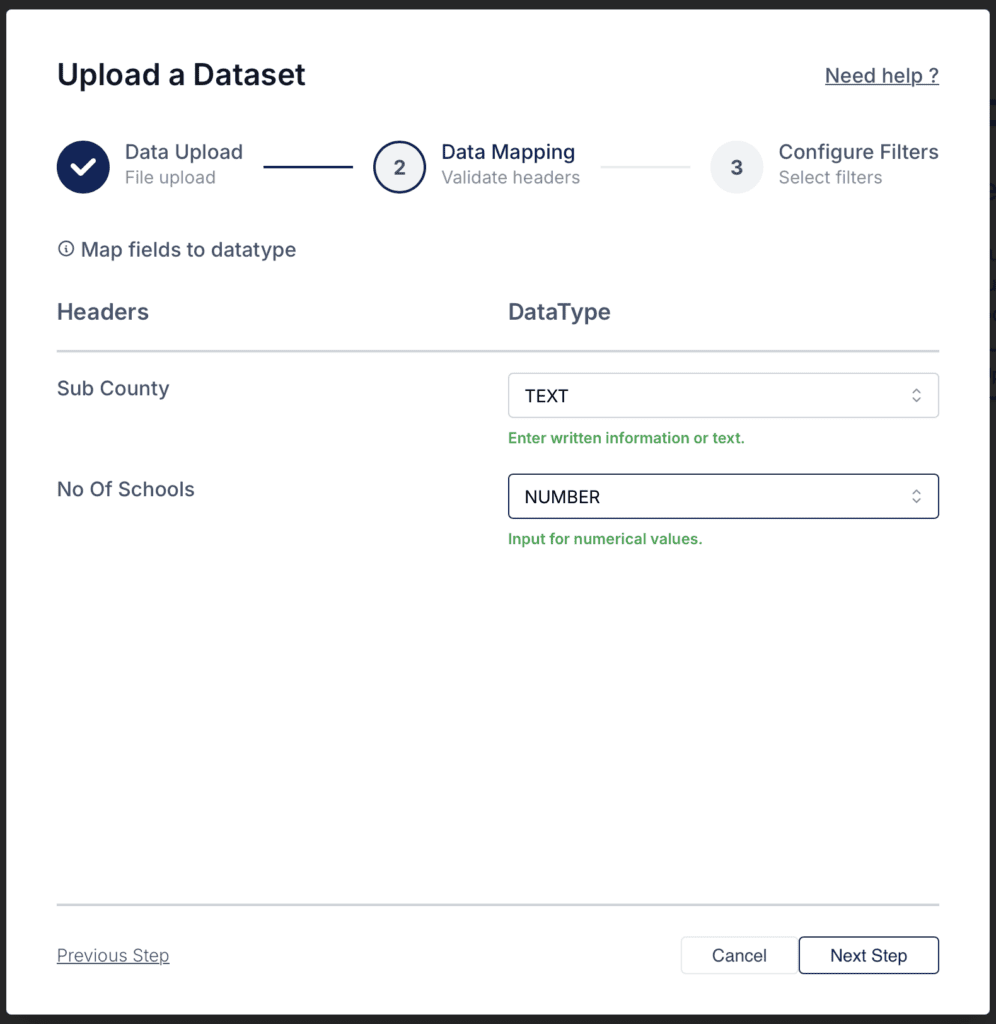
- Map each header from your dataset to an appropriate Data Type:
- Text: For strings or descriptive fields.
- Number: For numerical values like counts or metrics.
- Ensure all fields are correctly assigned to avoid processing errors.
- Click Next Step to confirm and move to filter configuration.
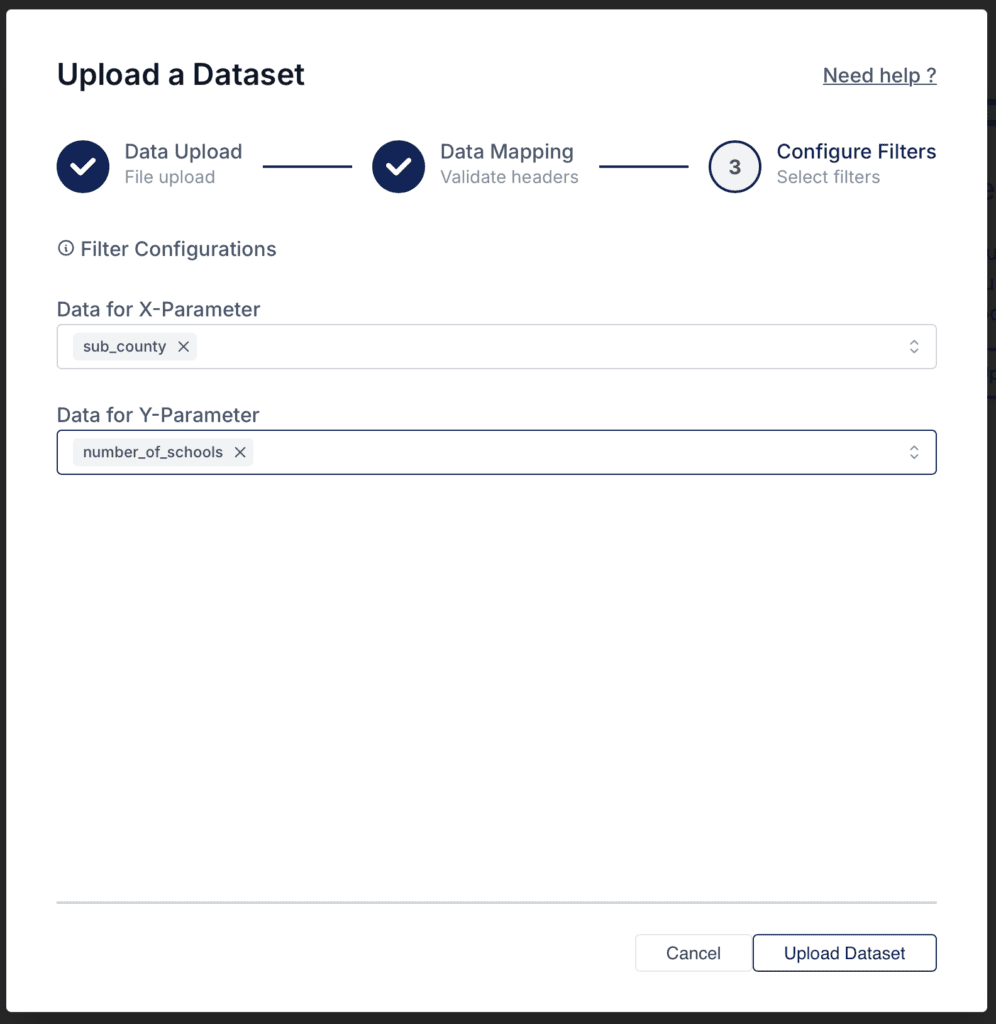
4. Configuring Filters
Steps:
- Assign fields from your dataset as filters or parameters:
- X-Parameter: The variable for the horizontal axis (e.g., Sub County).
- Y-Parameter: The variable for the vertical axis (e.g., Number of Schools).
- Adjust filter configurations as needed to align with your visualization requirements.
- Click Upload Dataset to finalize the upload.
5. Completion
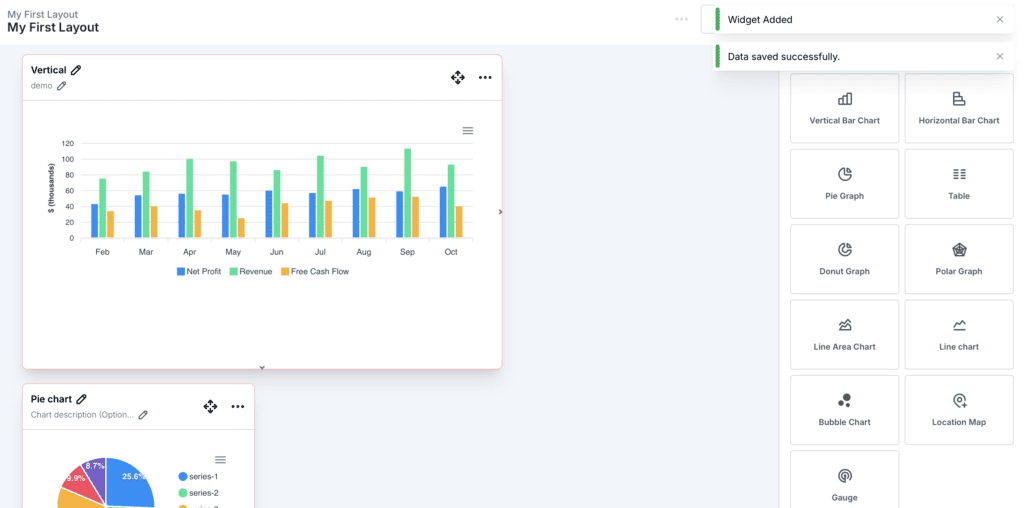
- Upon successful upload, your dataset will be processed and available for creating insights and widgets.
- You will be redirected to the dashboard to view your updated data visualization options.
What happens if I map a field to the wrong data type?
Incorrect mappings can lead to errors or incorrect visualizations. Ensure fields are properly mapped before proceeding.
Can I upload multiple datasets?
Yes, multiple datasets can be uploaded and managed independently on the dashboard.